Unique Heart Ornaments, Tutorial
Tuesday, December 13, 2011

As a child my mother every year gotmy sister and I to make Christmas ornaments in the weeks leading up toChristmas. We had little store bought ornaments and I believe that myappreciation for unique handmade ornaments started there. I cannot help making Christmas ornaments, and being able to list them in myEtsy shop: SewDanish has been great. Ilove giving the old Danish/Scandinavian traditional ornaments an updatedtwist as well as designing new.
I developed the technique for theseChristmas ornaments, while I was having fun experimenting and making samples forFibrefusion recently published book ‘Muslin’, which is an inspirationaland experimental work book about creating lovely fiber art using thin, inexpensive,loose weave fabrics.

For the hearts start by layering 10 -12 layers ofmuslin/calico/turbin cotton in approx. 6 x 8 inch (15 x 20 cm) oblong. Themuslin can be any colour you like. If choosing white/off white you havethe option of coloring the hearts after stitching.
Draw 2 hearts (or any other simpleshape) on a piece of cartridge paper or ‘stitch and tear’. Don’t cut out. Pinthe pattern along the 4 edges of the muslin bundle. If stitching the hearts free hand onthe machine, you may skip drawing a pattern.
Thread your sewing machine andstitch the hearts either by following your pattern or drawing the shape in free motion on your machine.
When free motion stitching lower thefeed dogs, release the top thread tension and zero the stitch length. Now youare in control of moving the fabric creating the stitched lines.
OR you can leave your machine‘normal’ with the feed dogs up, normal top tension and stitch length 2.5 – 3.Both will work. I prefer free styling it for a morerelaxed look, but have a play and see what suits you.
Stitch, following your first outline, by going over it at least 4 times. You can stitch these bands as wide oras narrow as you like. The stitch lines need to be very close and partly on topof each other. Now repeat these stitchlines inside the heart. Depending on the size of the heart repeat once or twice (or more).
Remove your fabric from the machine.With a pair of scissors cut very close along, but not into, the outermost stitchedband.

Now look at your heart and decidewhat areas you would like to cut away between the stitched lines. The aim is tocreate higher and lower areas. With a fine pointed pair of scissors carefullycut through only the 5-6 top layers of muslin. It is easier to cut a few layersat the time than doing it all in one go.
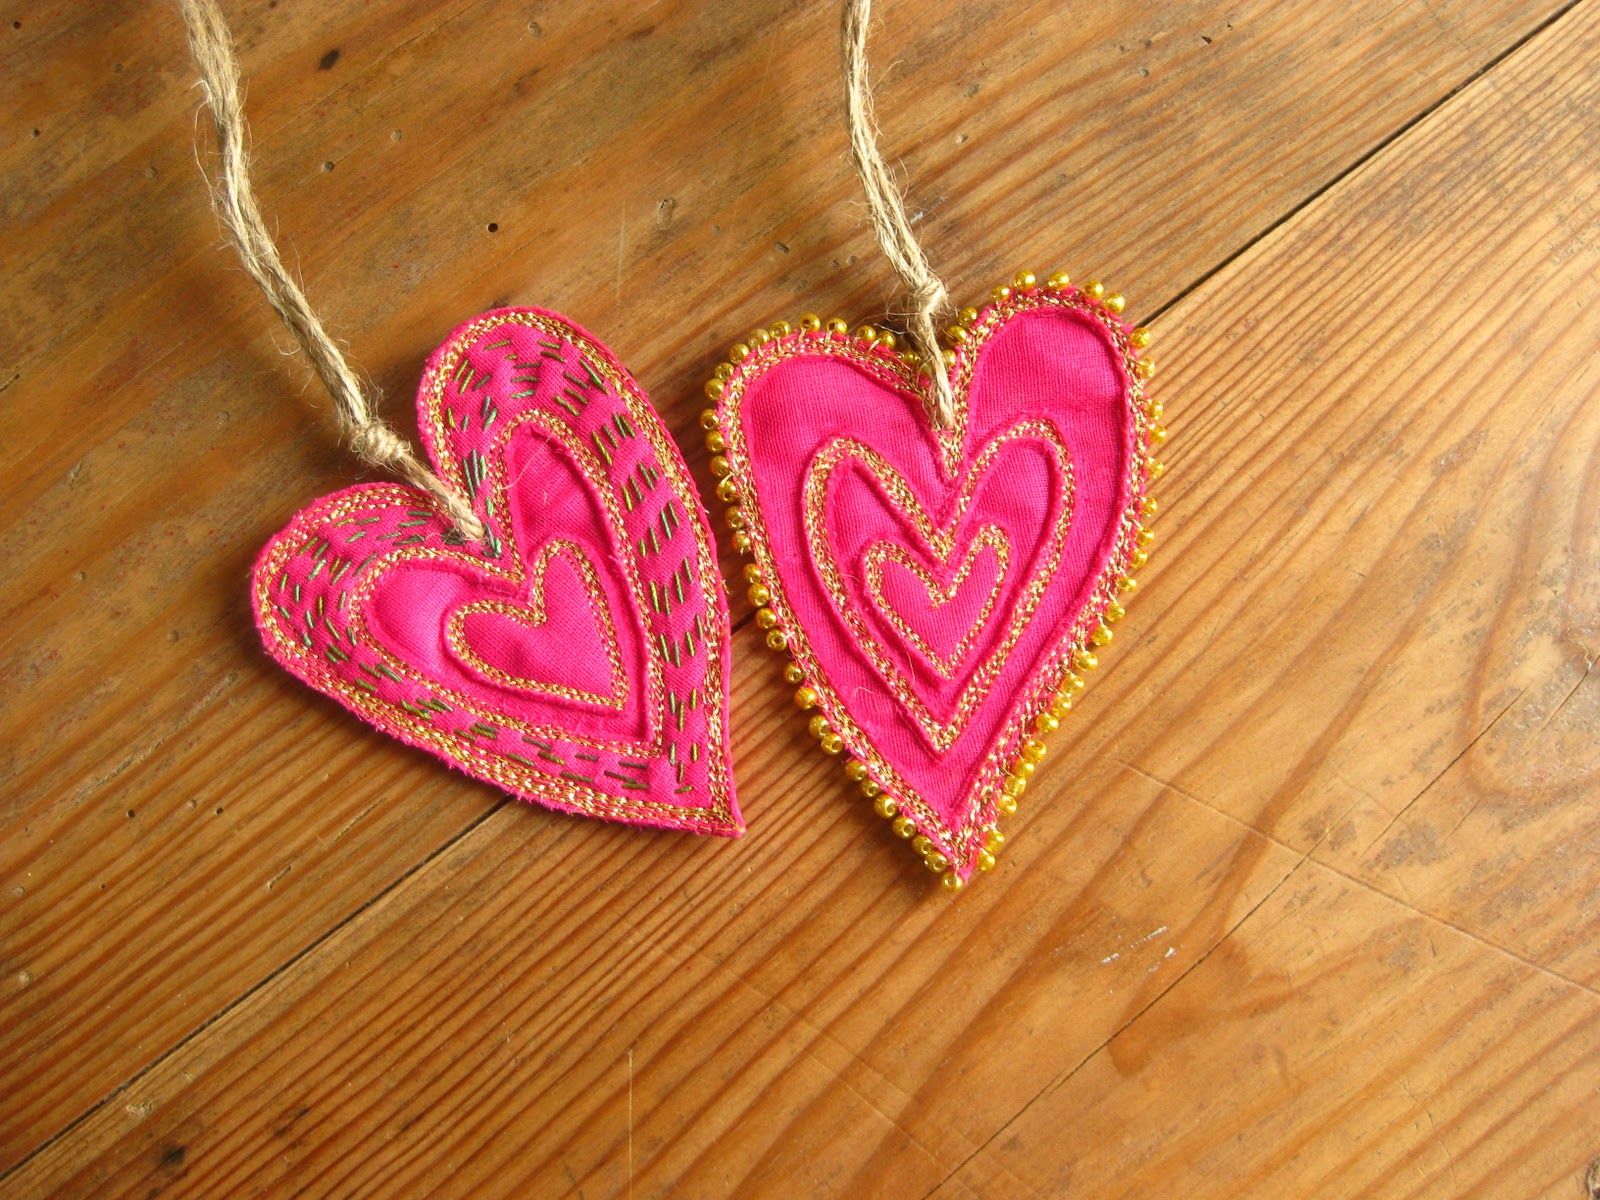
The heart can now be furtherembellished with hand embroidery and or beads. Add a piece of string, twine,raffia or ribbon to hang your hearts.

If you aren’t too keen on theslightly raw, frayed edges, you can seal the edges with a bit of acrylic paintlike shown on the stars.
Please note the boring bits:
These instructions are for personaluse only. You are however welcome to use a single photo and a brief description, linking them back to where you came across the instructions.
These instructions may not berepublished in their entirety without the permission of me, the author,Birgitte Hendricks. I can be contacted here info@SewDanish.com J


