SewDanish + Etsy front pages Tuesday, June 23, 2009
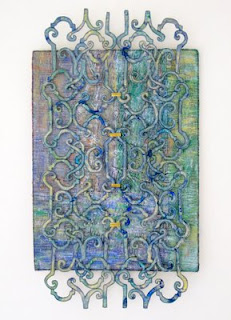
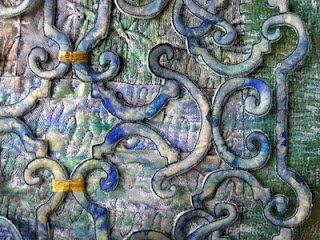
Wow I'm so happy!! I'm doing a happy dance here right in the living room. I just want to share that I just discovered that I have made the Etsy Front Page three times with in a month. And I haven't seen any of them while they were up! I only found out when I checked my Google Analytics and saw big spikes in traffic to my shop. Went to check the Flickr group: 'Etsy front pagers-treasury screen shots'. A great group and tool for finding out what you have missed. And there it was.Thank you to all you out there that very regular basis choose items from my shop to be featured in your treasuries. I appreciate it TONS!!!. I will one day get my head around starting creating treasuries myself. It is on my long list of things to do :-)
Meanwhile I do check 'craftopolis' almost everyday, a great time saving tool to find out if your a featured in treasuries and gift guides. If featured then I leave a comment, click and visit all the wonderful shops, and share the link on twitter/facebook to give more people the chance to see all the beautiful creations and wealth of creativity.

Work in progress Sunday, June 21, 2009
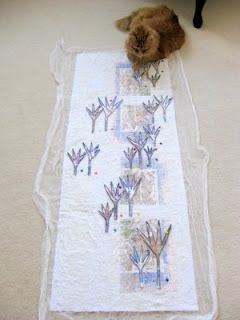
I don't like being last minute when working on pieces. I don't mind working under pressure with lots of other things, but in regards to crafting, I hate sitting there with time running out, trying to make things look right. For me it is so stressful and it simply takes the fun out a process, that I otherwise enjoy tremendously. I want to have time to change things if it doesn't work or to follow a new path if an idea pops up. At the end of the day, I probably work very intuitively and need to allow ample time just to look at the pieces, on my design board. When making a larger piece I quite often take photos during the making process. In my workroom, I cannot get far enough away, to look at it, from a descent distance. If overall design doesn't work it will usually scream at you, and it is by far easier and nicer to realize it before it is too late, and a lot of time has been wasted on a weak piece.
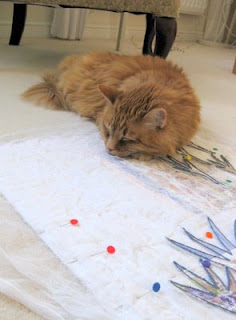
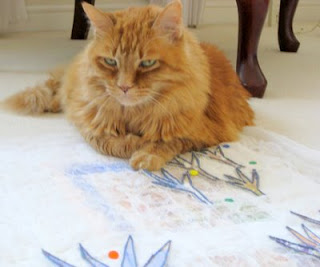
Lately I have been working on a quilt for the upcoming 'Out Of The Fold' exhibition in October. We decided as a group to all make a long, narrow piece, a 3d item and a piece based on a 'metal challenge' pack that was handed to us all. The piece in the photos is my half finished, long, narrow piece. I was working on it on the floor and with in a spilt second our old pus decided that I needed help to hold down the corner.(Sorry, to the non cat lovers out there :-)
How to make: A stitched, textural picture Wednesday, June 17, 2009
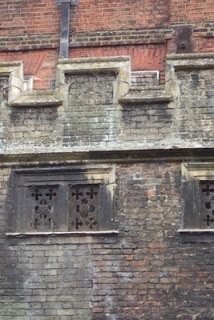
The photo I used as inspiration for my stitched piece.
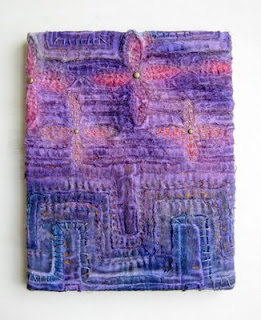
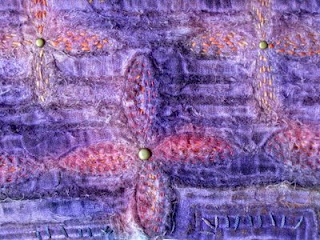
I made this picture a while back and I thought I'd like to share how I did it. It is such a lovely technique, if you like me, like texture and few frayed bits. All together a bit rustic I guess :-)
Choose your design source. It can be a photo you've taken or pulled from a magazine, your own design work, what ever appeals to you. Make a (rough)sketch with emphasis on the flow of lines in your design source. Then determine if you want to add a some pattern as a focal point. Again, look at your design source and see if something 'wants to be added'. Otherwise use your imagination and the artistic licence.
Layer 10-12 layers of butter muslin, (loosely woven cotton fabric). Tack the layers roughly together. Set your machine for free style machine stitching threaded with a a white/neutral cotton sewing thread. Stitch your design. Go over the lines 3-4 times.
Look at your stitched piece and decide what layers you want to cut away using a small pointed scissor. You will be creating depth in your design, so give it a bit of thought envisioning the various combinations. Cut the fabric away, but not all the way through. Leave a couple of layers.
If you want to dye your stitched piece. Place it in a flat tray. Spray with water, to dampen the surface. Use lightly diluted Dyn-a-flow, silk paint or any other liquid dye and a brush working the dye into the surface. Let the colors merge for a soft look. When happy, let dry and add hand embroidery and other embellishment if you so wish.
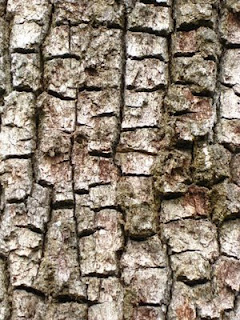
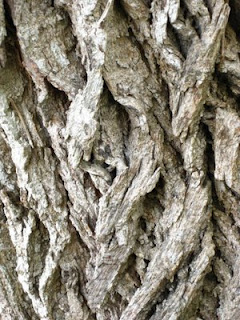
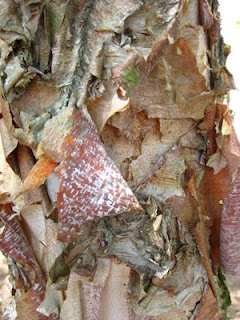
bark 1 Friday, June 12, 2009

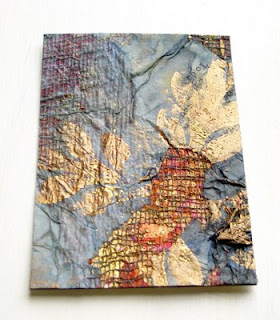
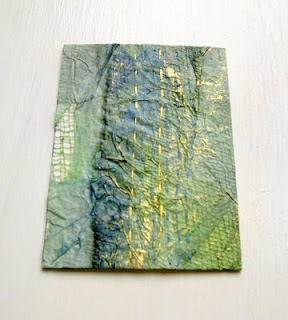
I have had a great week! All last week was spend attending a 5 day summer school in free style machine embroidery. Our tutor was the lovely and very experienced Textile Artist and Tutor Pauline Verrinder. The theme for the summerschool was 'Fragmented'.
Over the 5 very busy days we created a whole range of fragments.
Vancouver, Canada Tuesday, June 9, 2009
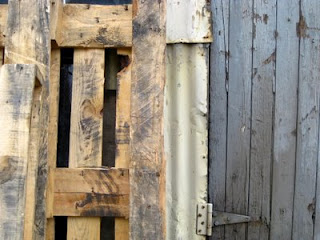
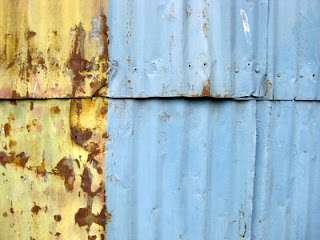
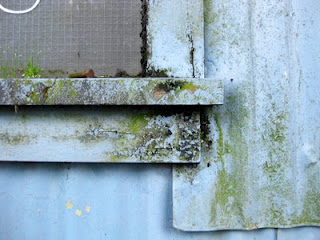
On our recent trip to the US, we spend two days in Vancouver, Canada. I had never been to Canada before and was really looking forward to our stay there. I'll definitely have to come back one day. I just loved Vancouver. I could have spend a lot longer there exploring the city. Walking and exploring the Granville area was fantastic. The creative energy coming from Emile Carr Art and Design University, all the individual or coop artist studios as well as the market was fantastic. A feast for all senses. The second day in Vancouver, my husband and his mother went on a bus trip, while I excused myself :-) I just had to get back to Granville. The day prior I had spotted all these wonderful rusty, multi colored, mossy, textured areas on the buildings made from corrugated iron and I was keen on getting back taking photos. I got there quite early in the day. It was slightly overcast and the light was just right for my little point and shoot camara. The more I looked the more I discovered. I took so many photos that I lost count. I do love digital photos! While I was totally absorbed in my little world of taking photos of rusty bits and planing the next batch of design work, this deep male voice, all of a sudden, spoke to me from behind. I got such a fright and totally jumped. I was definitely not expecting anyone to talk to me! The gentleman apologized for making me jump, and continued to tell me about some other great 'textured' buildings on Granville. And then he was gone. I couldn't help smiling as it was so neat to have met someone, who shared my joy of 'weird' design photos.
Glacier Bay, Alaska Saturday, June 6, 2009
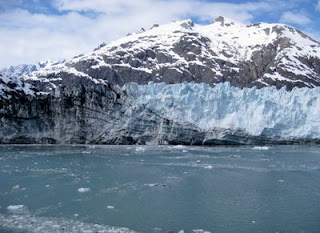
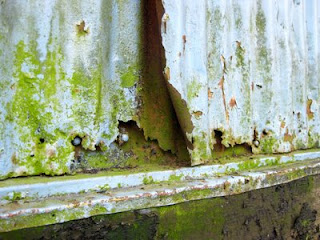
Well despite all my good blogging intentions, I'm still struggling getting back into doing all the things, that I would like to do on the computer. Mind you, on our recent trip to US/Alaska, I did decide, that I was going to spend less time on the computer upon our return. I was spending way too many hours on 'the machine' and I really wanted to transfer some of that time back into designing and crafting. This last week I have spend catching up on lots of projects as well attending all three textile groups. Great catching up with all my friends and see what they are working on. In the machine embroidery group, Advanced Textile Workshop, we were having a fun day making all kinds of buttons in clay, Fimo, felt and stitched. It is always great to be able to make your own buttons for a certain project, as it is a wonderful way of adding the last finishing touch. In 'Out Of The Fold' some of the ladies were doing indigo dying. Some of the pieces were stunning. I look forward to see the results next time we meet. I didn't do any dying. I have so much dyed fabric as it is, so I really didn't need any more. I worked instead on a couple of samples for a 3D object that we are to make for our upcoming exhibition. I was very pleased with how the samples turned out. Will share them with you at a later stage :-)
The two photos in this posting are from The National Park: Glacier Bay, Alaska. An absolutely stunning place. Never seen anything like it!


